
Cross Connect uses a third party web service called Gravatar to serve user avatars to our applications.
Gravatar utilises the users email address to associate an image to a user, this avatar can then be used across many different IT systems, including Cross Connect. At the time of writing this article more than 200 million Gravatars have been configured across the globe.
To get started, navigate to the Gravatar website which can be found at the link here:
- New User Setup
- Setting Up Your Avatar
If it’s your first time using Gravatar the first step is to make an account here:
Gravatar Sign up page
The sign up process is simple, enter your email address and request a login link. A follow up email will then arrive requesting to confirm your email signup.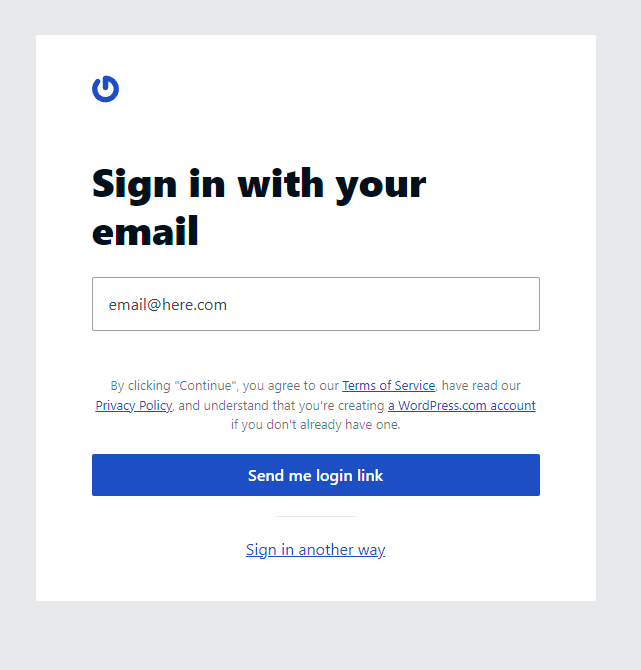
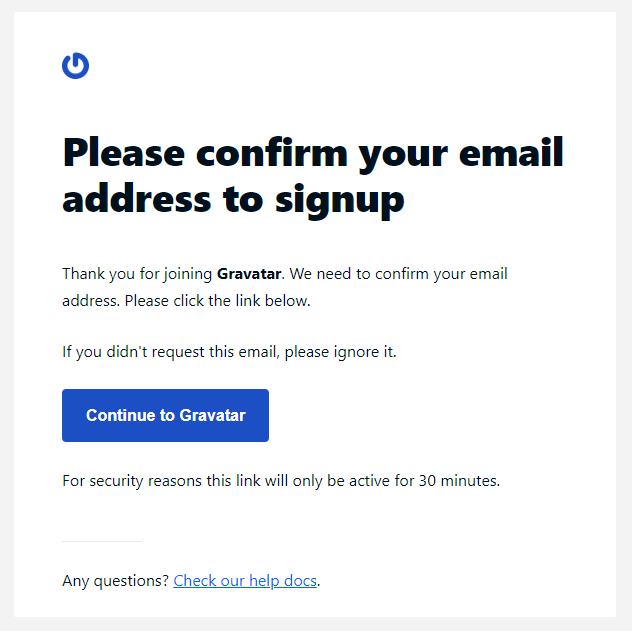
Once you’ve pressed the confirmation link, you’ll be automatically logged in to the Gravatar website and can follow the next set of steps.
There’s no need to remember a password when using Gravatar, logins are handled exclusively through your email address.
To sign in simply enter your email address and click the login link you receive via email and proceed to the setup page
Gravatar Setup Page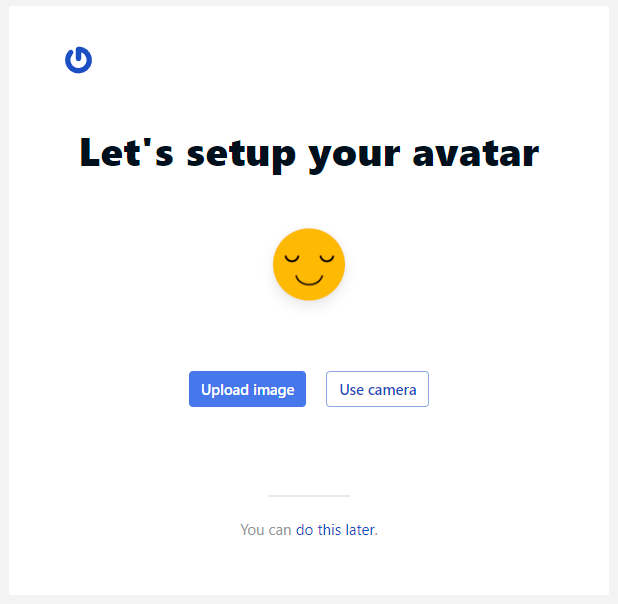
Upload your image of choice to the interface here and then position it and crop it to size. 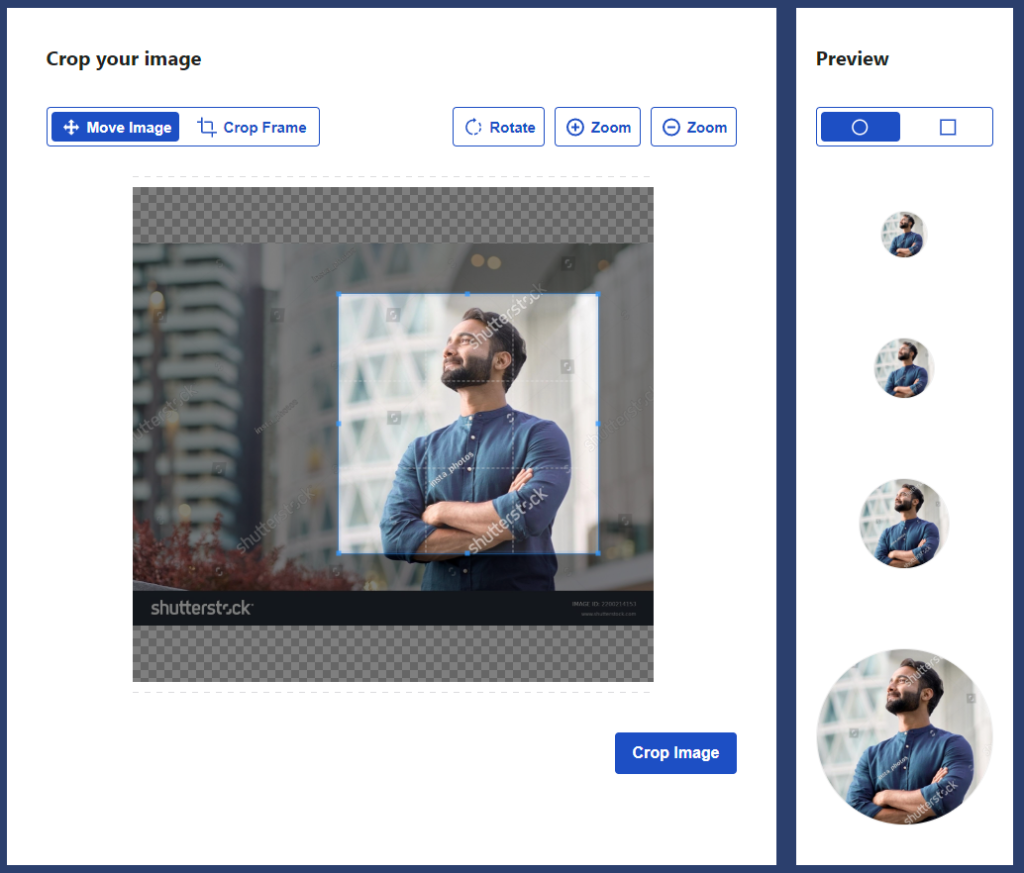
Configure the image as suitable to display on all websites otherwise it won’t be retrieved by Cross Connect.
No further setup is required once “Set Rating” has been pressed. Your new avatar will now be visible to your colleagues.